
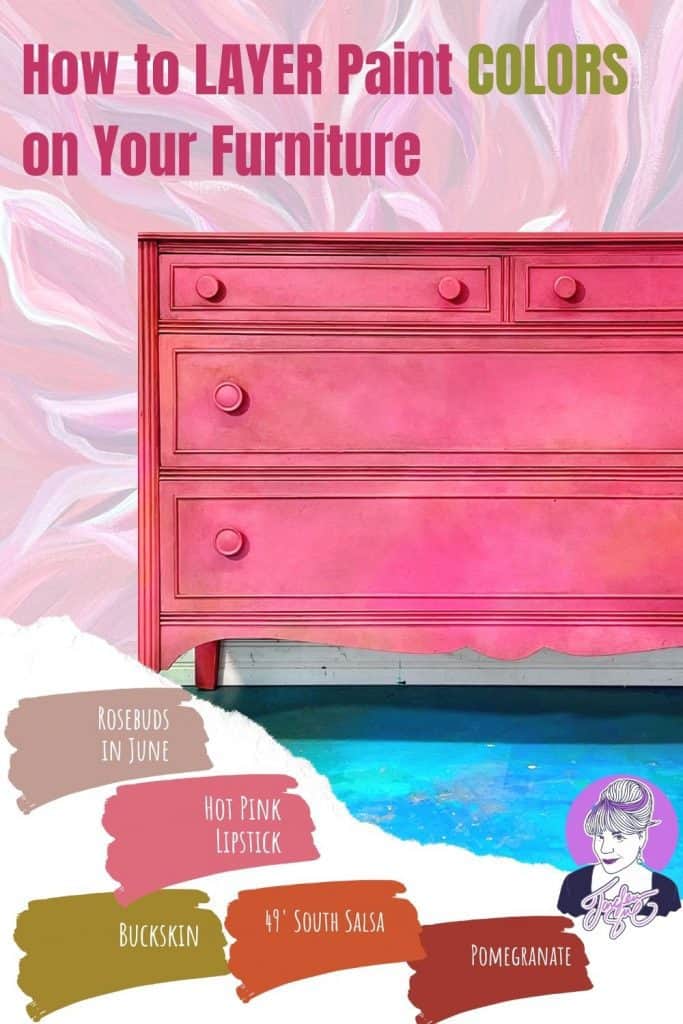
How layering Colors adds depth to your Painted Furniture
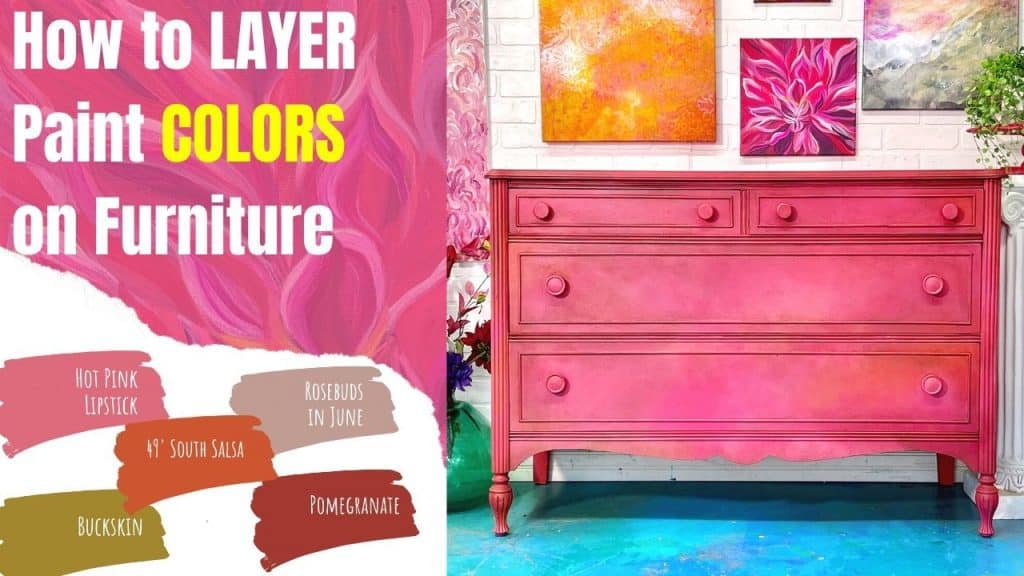
In today's post, we are gonna go deeper into one aspect that differentiates painted furniture and furniture art. It's all in the layering and selection of colors. My last post showed you tips for selecting colors but this week it's about how to get the most out of the chalk paint colors that you have selected. When you know how to layer paint colors on furniture you will never fo back to painting a single color.
The critics are always coming down hard on us furniture painters aren't they?
I've got a dirty little secret... sometimes I agree. I know right?!? How can I not stand in solidarity with my people?
Well, the truth is that we all have to start somewhere and our furniture painting beginnings are usually on the humble side. Ira Glass put it perfectly in his famous quote about the gap between our taste and our talent:
“Nobody tells this to people who are beginners, I wish someone told me. All of us who do creative work, we get into it because we have good taste. But there is this gap. For the first couple years you make stuff, it’s just not that good. It’s trying to be good, it has potential, but it’s not. But your taste, the thing that got you into the game, is still killer. And your taste is why your work disappoints you. A lot of people never get past this phase, they quit. Most people I know who do interesting, creative work went through years of this. We know our work doesn’t have this special thing that we want it to have. We all go through this. And if you are just starting out or you are still in this phase, you gotta know its normal and the most important thing you can do is do a lot of work. Put yourself on a deadline so that every week you will finish one story. It is only by going through a volume of work that you will close that gap, and your work will be as good as your ambitions. And I took longer to figure out how to do this than anyone I’ve ever met. It’s gonna take awhile. It’s normal to take awhile. You’ve just gotta fight your way through.” Ira Glass
Please don't think that I am in any way trying to discourage you from taking a paintbrush to that old brown hutch.
You should. You really really should paint that hutch.
I'm just saying that if you want to sell your work, you've got to paint a BUNCH of hutches and practice the skill of furniture painting. You need to be painting furniture on a daily basis and trying as many things as possible.
I think the problem is perfection. I always think that the problem is perfection actually and not in the way you. might think. I always think that we should do a good job and hand over perfect work to our clients who have entrusted us with their cherished pieces, but if the goal is to make it perfect without making it art, I think we have missed the mark.
I see so many pieces all over my IG page are "perfectly" panted. They look like they just came off the showroom floor...
0r a pottery barn catalog! If all you are aspiring to is to get the perfect single color finish that looks exactly like a machine painted it and you can find it at any furniture showroom in any mall then we have different goals, my friend.
I'm not trying to paint something just to save money or just to change the color of a dresser to match the new throw pillows. I'm trying to paint something that you cannot find ANYWHERE ELSE.
I'm trying to make art!
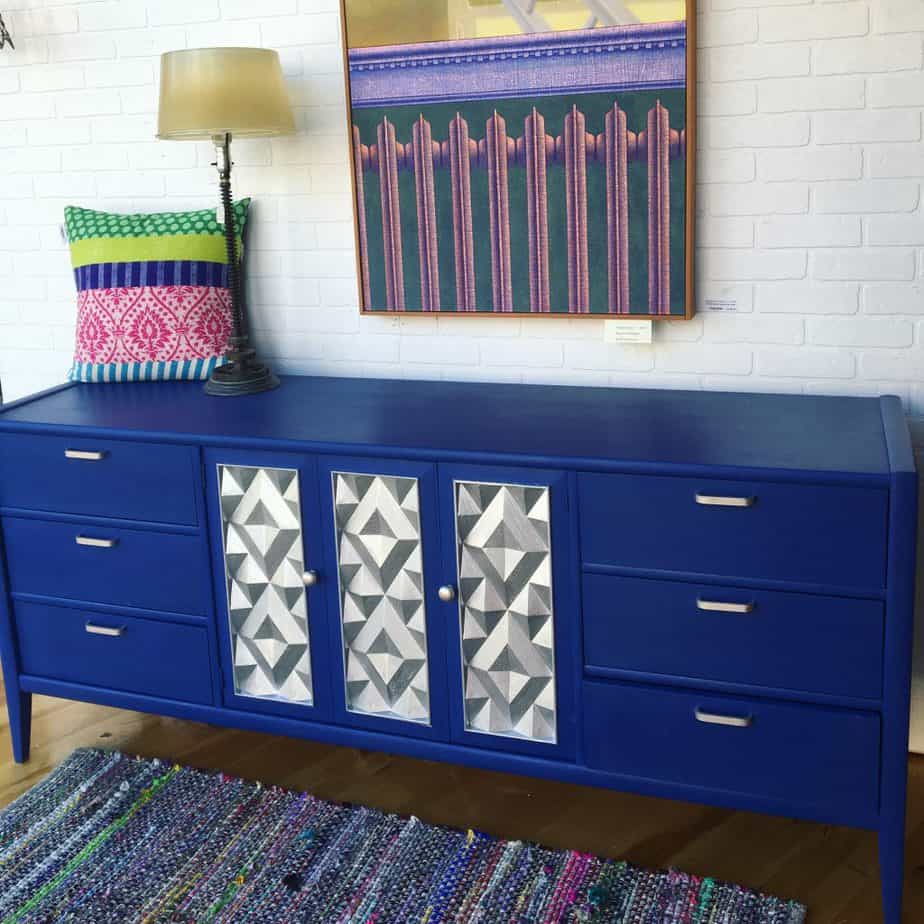
Ok, I hope I have not lost you. I too started at single-color furniture makeovers. I too started painting one piece one color because it went with the room. There is nothing wrong with this painting technique. Sometimes, especially with mid-century modern pieces its the perfect choice.
I just want you to know that I, Tanglewood Sue, am here for you if you want to go from furniture painting to furniture art. If distressed white pine furniture is not rocking your world anymore, or if you are not painting furniture to match the room, but if you want to paint furniture that rooms are built around!
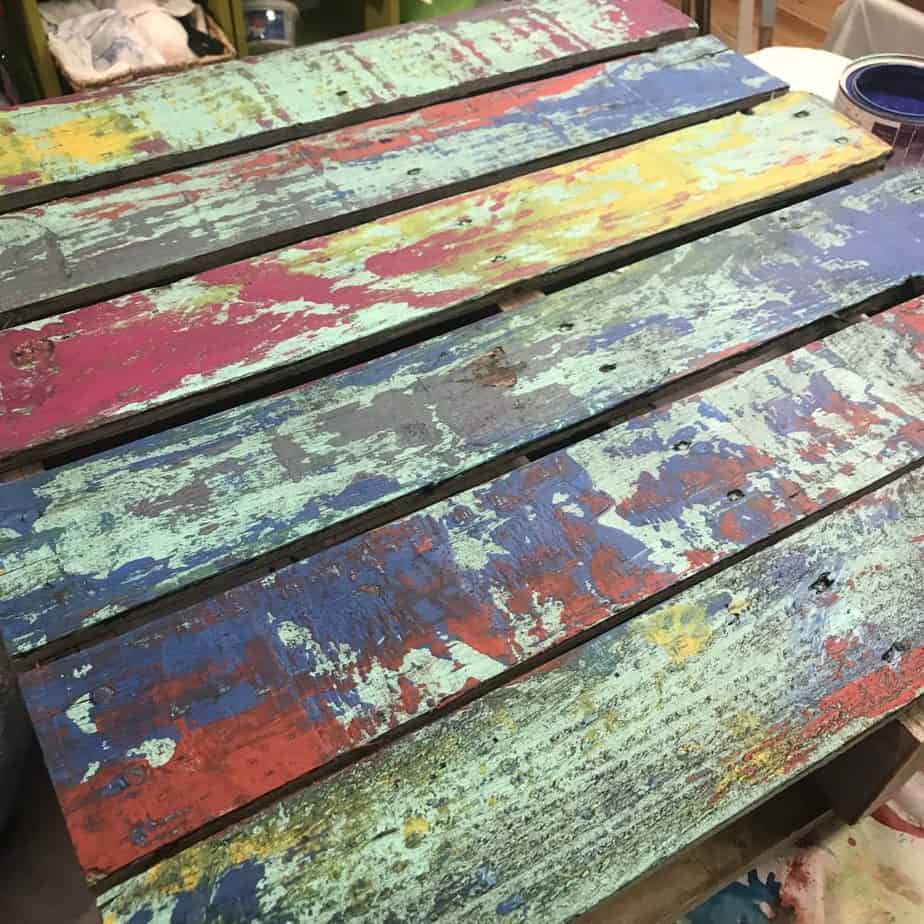
Layered Paint! Layers. Lots and lots of layers. Texture too but we can save that for another post.
When we paint with layers and lots of them, then our paintings come to life. They have depth. This is also true for a piece of furniture.
So let's start at the beginning.
I am going to show you my process and give some basics but the best way to learn is by trying new things and experimenting with your own techniques.
Are you ready?
Because this is gonna be fun! f you are a visual learner you can jump right on over to my YT compilation video where I painted this dresser from start to finish on last week's live on FB using Miss Lillian's No Wax Chock Paint.
How I put the chalk paint on furniture...
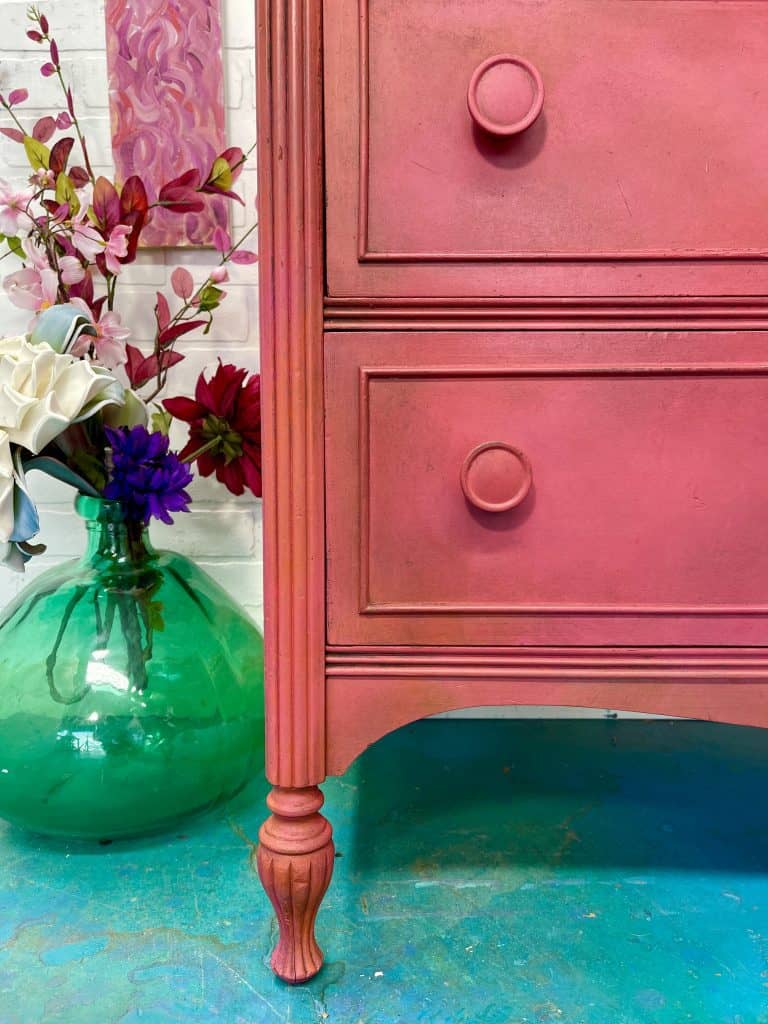
You can see each step I took to really take my piece to a more sophisticated level. The client asked for a rich coral pink. The trick is that I used at least 3 pinks, 2 oranges, and one green-brown to get to the one overall color that my client wanted. You can find all these colors and more right here.
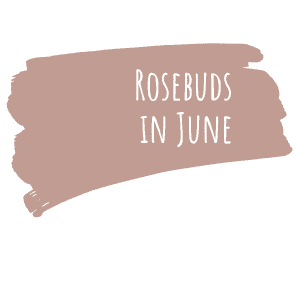
 Miss Lillians Rosebuds in June


Why would I do that?
Because it is more visually interesting than just painting the whole thing one color, that's why.
I did start this blog post with a quote by Ira Glass, so trust me, I did not master this effect right out of the gate. It took a lot of IG scrolling for me to notice the differences in painted furniture levels. I actually stopped scrolling furniture and started scrolling abstract and impressionist art. This is where you can really boost your skills.
Learn from canvas artists to boost your furniture art skills
Why look for inspiration in what fellow furniture painters are already doing? If you want to bring your furniture to a higher level look for more levels of inspiration.
Here are the steps and some Tanglewood Sue tips to create the perfect layered look.
Now, just to clarify, this post is not about getting a distressed look. I know that has style been extremely popular during the at least 10-year reign of farmhouse chic. Trust me. I did my fair share of sanding and distressing to get the perfect chippy look but for this style, it's about the subtlety of the blend, not a striking shift between colors.
Maybe this does not sound like me but trust me, there is still much drama in the subtle color shifts you can create with this method.
Here are the furniture painting supplies to get you started: (All suggested products are at the bottom of thiis post as well)
- Paint brushes, lots of them in all kinds of shapes and textures
- Deglossing and cleaning solutions (I like Simple Green and First Step Prep)
- sponges
- rags
- sanding tools
- mister bottle
- Chalk paints (you can use latex paints but only if you have "Chalked" them"
For this process select a:
Base color (the color closest to your intended color
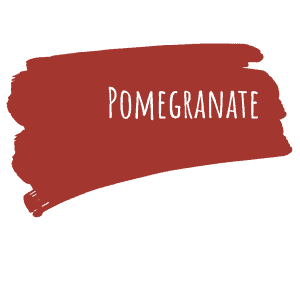
Highlight color (a color lighter than and slightly different in hue but close to the original color. For example I chose a Pemegranite so my highlight color was a red-orange)
Lowlight color: Same idea as the highlight but a bit darker than your intended color and slightly off the same hue.

Ugly Color: I know this throws everyone off but I always choose one color that is completely opposite of my color range and it's usually a color I do not love on its own but I love it when it complements other tones. I also always use Buckskin by Miss Lillian's No Wax Chalk Paint. It just always does the job.

Step one-Dump out all the crayons
I believe our inner artist has been with us all along. Think back. Did you select one color at a time from the crayon box while you were creating your masterpiece for Mom's fridge? Or did you dump them all over the floor and go all Jackson Pollack with them? Either way now is your chance to embrace the chaos. pour all the colors you have chosen onto ONE tray!
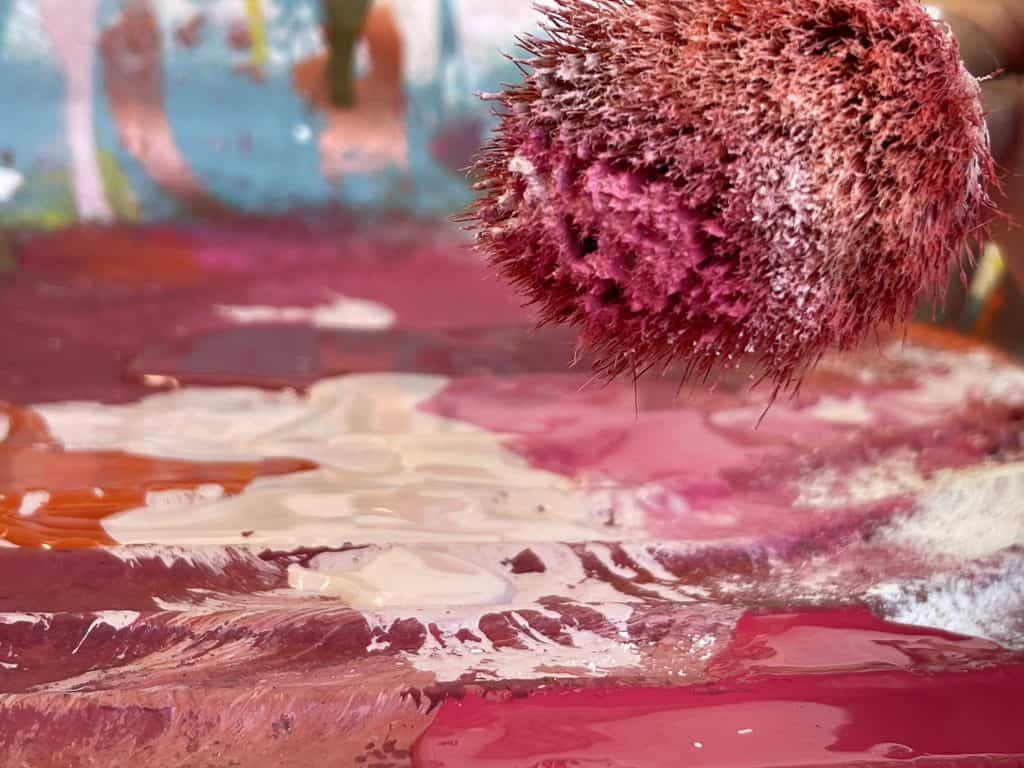
Step Two Paint like a Preschooler
honestly. this is where you don't have to think. you can just embrace your intuitive painting style and get the colors onto your piece. This is where you can experiment without any fear of getting it "wrong". Put on one color at a time or dip your brush into a few colors at once. Use random strokes. Up, Down, swirls, dots, anything goes my friend. This is the layer where you basically audition your colors and the painting style you want to use on this piece.
Step Three Means its time to focus
Now that you've seen what happens when you blend this color with this color, you can work on your blending even more. This is where you have to pull your mind out of the preschooler chaos and actually choose a direction for this piece. You can add some shadows or highlights into the mix you just did but now start focusing on which color blends you want to stand out and what kind of brushstroke you want to show. Even though I painted with lateral and horizontal strokes on my first layer, by this layer I decided that was going for more of a stippled design.
Step 4: Not too heavy-handed
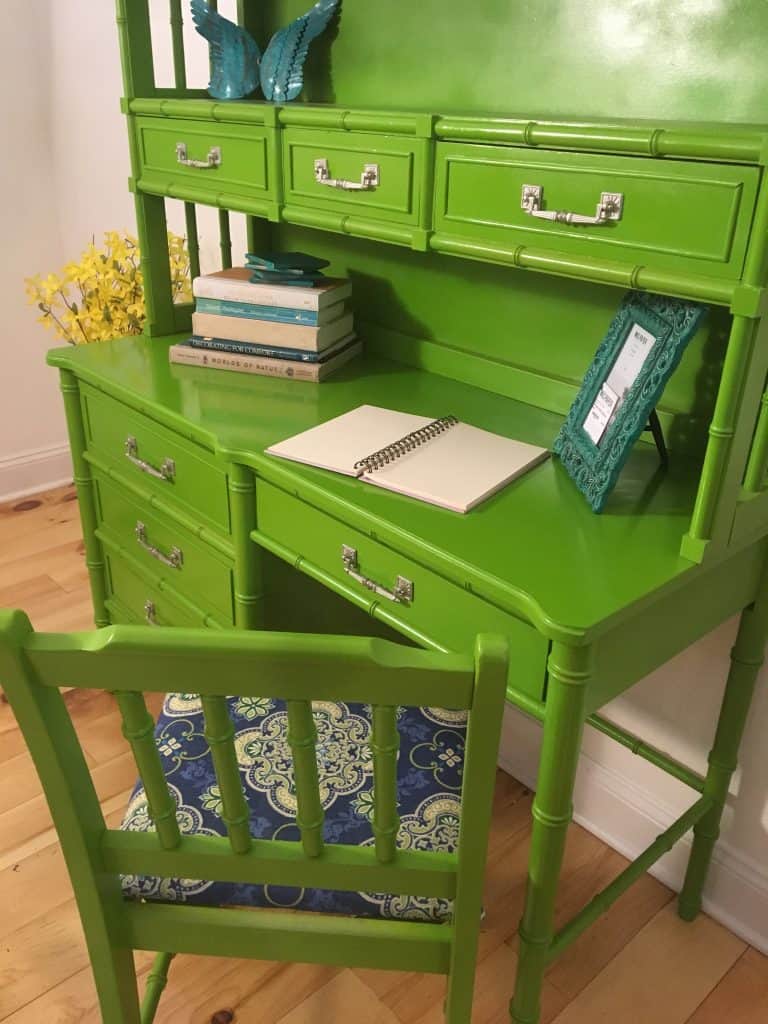
You basically have got your piece at this point but now you need to make sure you've got full coverage and all your highlights and low lights are exactly where you want them. Did you want a bold pattern like I did HERE or a more subtle pattern like this chartreuse dresser? SO for this round, I want you to mist the area you are going to work on and then use the tiniest bit of paint. You are basically adding a final wash or glaze to the piece. You can use a spray bottle like I do HERE or you can use a mister. I like the spray bottle because it allows me to hit an area without having too much paint at once and then I just wipe away the excess with a rag if there is any.
The above step is kind of hard to explain but hopefully, my video will help. I painted this dresser over the course of 4 (Hilarious!) Lives. I kept some of the funny moments for you but you'll be please that I whittled 5 hours of media down to one for you WITH chapters so you can skip to any section you'd like more information on.
Furniture Painting is super fun but like anything else, it's a skill you can learn and always improve upon
I hope this was informative and enjoyable. Please feel free to comment below or to inquire about any other painting demonstrations I can create for you.
Sincerely
Tanglewood Sue
/*
*/
1 comment
LOVE the colors in this and love your tips. BONUS is the awesome quote from Ira Glass.